 Layer

A commercial filament dryer runs anywhere from $40 to $90, and most of them hold exactly one spool while they're actively drying it — not storing it long-term while you print from it. After my third spool of nylon turned stringy from humidity, I built a print-from box out of a $9 cereal container that's been holding four spools at under 15% relative humidity for the last three months. Total cost: under $27, most of it the hygrometer.
This isn't a drying oven — it won't pull existing moisture out of a wet spool quickly. It's a storage box that keeps dry filament dry and lets you print directly from it through a sealed port, which solves the more common problem: filament absorbing moisture while it sits on a shelf between prints.
Why a cereal container works
The containers sold for pantry storage (Oxo, Rubbermaid Brilliance, and similar) already solve the hard part of this project: an airtight silicone gasket seal rated for food storage, which is a higher bar than most filament actually needs. A 6.5-inch-wide container fits a standard 1kg spool with about half an inch of clearance on each side, enough room for a spool holder and a desiccant pack.
Parts list
- Airtight cereal/pantry container, ~6.5" diameterqty 1$8.99
- Reusable silica gel desiccant pack, 500gqty 1$10.99
- Mini digital hygrometerqty 1$6.99
- PTFE tube, 2mm ID, 1mqty 1$5.99
- 608 skate bearingsqty 2$3.98
Total: about $36.94 if you buy everything new, closer to $27 if you already have spare bearings on hand like most people with a printer do.
Printing the spool holder
The holder is two printed arms that cradle a 608 bearing on each side, so the spool itself spins on the bearings rather than dragging against plastic. Print it in PETG rather than PLA — it sits under constant light load from the spool's weight, and PETG holds up better over months of use without creeping.
Layer height: 0.2mm
Infill: 40% gyroid
Walls: 3
Material: PETG
Nozzle temp: 235°C
Bed temp: 80°C
Supports: none needed
Cutting the feed port
Mark the center of the lid and drill a 6mm hole using a step bit, starting with a small pilot hole to keep the plastic from cracking. Press the printed grommet into the hole from underneath — it should snap in with a friction fit. Thread the PTFE tube through the grommet so about 2 inches hangs outside the box toward the printer and the rest coils gently inside toward the spool.
Loading the box
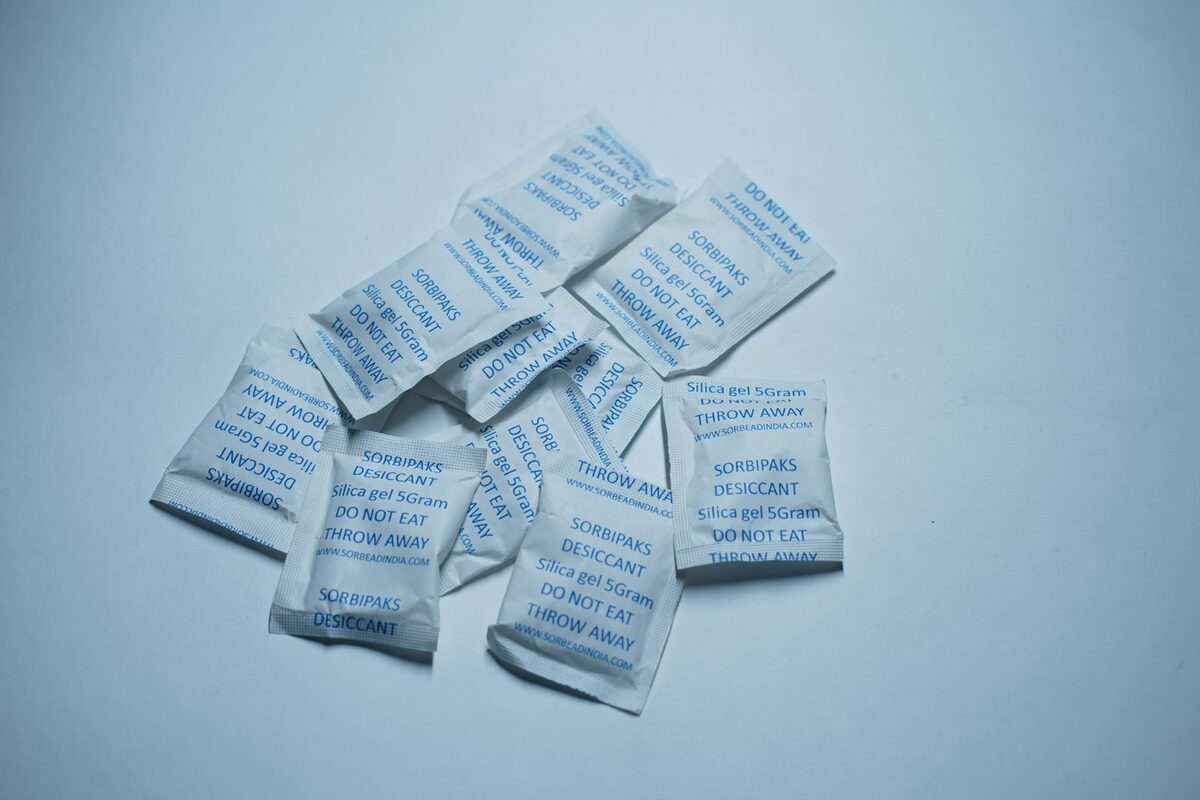
Drop the desiccant pack in first, flat against the bottom, then set the spool holder with bearings installed on top of it. Load your spool so it spins freely when you tug the filament end. Place the hygrometer standing against the inside wall where you can read it through the container without opening the lid. Feed the filament tip through the grommet and tube before sealing.
Results after 30 days
I tracked humidity daily for a month with four different spools rotating through the box (two PETG, one nylon, one PLA):
| Day | RH% | Notes |
|---|---|---|
| Day 1 (sealed) | 38% | Ambient room humidity before desiccant absorbed moisture |
| Day 3 | 19% | Desiccant working |
| Day 10 | 13% | Stable |
| Day 30 | 14% | Opened twice for spool swaps, recovered within hours each time |
For comparison, filament stored loose on an open shelf in the same room sat between 45–60% RH depending on the week, well above the roughly 20% threshold where nylon and PETG start absorbing enough moisture to affect print quality.
What I'd change next time
I'd size the hole for the PTFE grommet slightly smaller next build — mine lets in a tiny amount of air around the tube, which is why the box settles at 14% instead of under 10% like sealed commercial dry boxes. I'd also add a second grommet port on the opposite side if you want to run two spools through two printers from one box, which several people have asked me about after the first version of this build.
Is it worth building over buying
If you already own a printer with spare bearings and PETG filament, this build costs less than half of even the cheapest commercial dry box and holds more filament at once. If you're starting from zero and need every part, the savings shrink to maybe $15–20, and a dedicated dryer with active heating is worth considering instead if you're mostly dealing with already-wet filament rather than keeping dry filament dry.
Sizing up for multiple spools
The build above fits one spool comfortably with room for a second desiccant pack if you want faster recovery after opening the lid. If you're storing more than one spool at a time, size up to a larger rectangular pantry container instead of a round one — rectangular containers waste less interior volume per spool and let you line up two or three side by side instead of stacking, which keeps each spool spinning freely on its own holder rather than resting against the one below it. I run a second, larger box for my less-frequently-used colors and only keep the daily-driver spool in the smaller single-spool box next to the printer.
Maintaining the desiccant
Reusable silica gel packs are rated for roughly 1,000 absorption cycles before the beads stop reliably changing color, but in practice the thing that matters day to day is simpler: most packs ship with color-indicating beads that turn from orange to green as they saturate. Mine needed a recharge in the oven at 110°C for about two hours after roughly six weeks of steady use. I now recharge on a fixed schedule — the first of every month — rather than waiting for the color change, since by the time the beads visibly shift, the box has usually already crept up a few points of humidity.
Common mistakes I made first
My first attempt used a container without a true gasket seal, just a snap-fit lid, and it held humidity around 28% no matter how much desiccant I packed in — airtight really does mean airtight for this to work. I also initially mounted the hygrometer flat on the bottom of the box under the spool, where it read artificially low because it was sitting directly against the desiccant pack rather than sampling the box's actual air. Moving it to eye level on the inside wall gave readings that matched a second reference hygrometer I used to double-check the build.